We use hot water multiple times a day. Whether that’s to wash our body, pets, or dishes, hot water is a must-have in modern society. Oftentimes, homeowners don’t think about their water heater until something goes wrong.
Most of the time, we tell you to call a repairman at the first sight of trouble. Sometimes, that’s the only option. But for a few cases, you can fix water heater problems yourself at home.
The next time you have a small problem with your water heater you’ll know what to do and how to solve it. So, without further ado, let’s look at the most common water heater problems:
“I Have No Hot Water!” — Here’s What to Do
A water heater, by definition, is there to heat your water. If no hot water is coming out, there’s a clear problem with the appliance. Specifically speaking, it’s likely to be an issue with your power (which is an easy fix), your thermostat, or the heating elements themselves.
First, make sure your circuit breaker hasn’t tripped. Look at the service panel to make sure the power isn’t off or has reset. If it has reset, just turn it off and then turn it back on.
For systems that haven’t had a power trip, you’ll need to reset the high temperature limit of your water heater. Don’t be intimidated, it is easier than it sounds. In fact, it takes only 5 steps to reset the high temperature limit on your water heater:
- Refer to your breaker panel and switch off the breaker to the water heater’s power. Make sure it’s switched off before moving onto the next step.
- Remove the access panel, insulation, and safety guard. Do not touch any electric terminals or wires.
- Locate the high-temperature cutoff reset button. It’s often found above your upper thermostat and is a red button. Press it.
- Reinstall the safety guard, insulation, and the access panel.
- Switch on the water heater again.
“My Hot Water Is Coming Out Too Hot!” — Here’s What to Do
Having water that is too hot can be dangerous, no one wants to come out of the shower with a big burn. Plus, it’s just as frustrating as having no hot water at all.
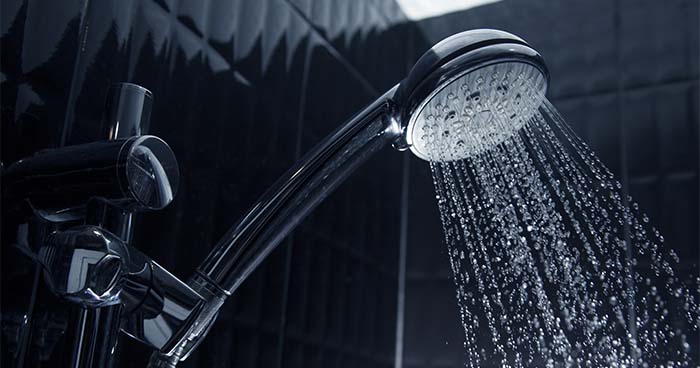
More often than not, it’s because the water heater’s thermostat settings are too high. To adjust them, follow these steps:
- Check that the power is switched off before you do anything.
- Remove your access panel, insulation, and safety guards on each set of the water heater. Don’t touch any electric terminals or wires.
Water heaters larger than 20 gallons have two thermostats, one taking readings from the top of the tank and the second taking readings from the bottom of the tank. - Look at the heat settings on both thermostats. They should read the same temperature.
- Use a flathead screwdriver and adjust the temperature on one of the thermostats. It’s recommended to have a temperature between 115 and 125 degrees.
- Repeat this for your second thermostat.
- Reinstall the safety guards, insulation, and access panel.
- Turn on the heater’s circuit breaker.
“My Water Heater Is Leaking” — Here’s What to Do
A leaking water heater can evolve to be a big problem. While it may be releasing a few drops of water now, those small drops add up to a lot of water damage.
With that in mind, if you spot a leak, you’ll need to act quickly. The first step is locating the leak.
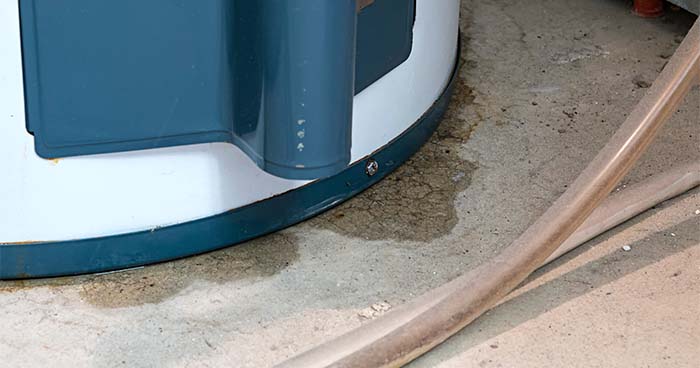
To find it, switch off the water heater, but keep the cold water inlet on. If you’re searching for a leak and you turn it all off, you may not have enough pressure for the leak to reveal itself. The second you switch it all back on, the leak should show itself.
If you can’t visually see the leak, use your hand and place it over your pipes and fittings, paying attention to any sense of moisture.
If there’s still no sense of where the leak is coming from, wrap your pipes and fittings in tissue paper. You’ll be able to see any obvious leaks as the water seeps into the paper.
The position of your leak will determine the solution.
Water Heater Is Leaking from the Top
Usually, a leaking water heater that has a leak from the top is down to a loose hot or cold outlet pipe or a faulty temperature and pressure (T&P) valve.
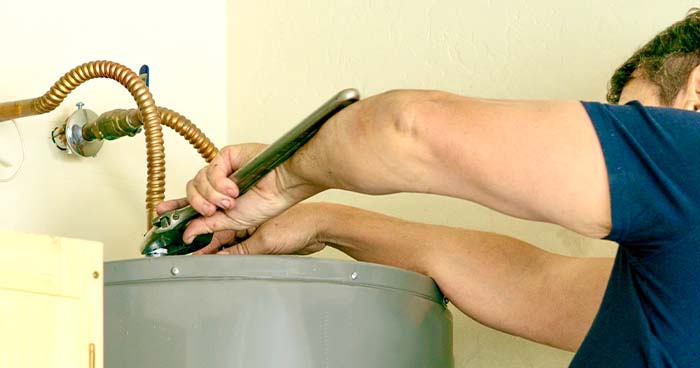
Here’s how to fix both:
How to Fix a Leaky Valve
If you have a leaky valve, don’t panic. There’s an easy solution. You need to tighten the nut that’s holding the valve in place.
However, if the leak persists, it’s time to replace the valve.
How to Fix a Leaking T&P Valve
The temperature and pressure relief (T&P) valve is an important part of your water heater. Its specific role is to ensure there’s no excessive pressure that could burst your pipes or spray haphazardly out of your faucets. It’s a big role for a small component.
So, if there’s something wrong with it, you could have over pressurized water, which can easily cause a leak. When left unchecked, excessive pressure could lead to a broken thermostat and water damage.
Find your T&P valve at the top of your water heater, in the middle. Then, inspect it for leaks. A leaking valve means it’s time to replace the whole thing.
Water Heater Is Leaking from the Bottom
When a water heater is leaking from the bottom, it’s usually because of a faulty electric heating element gasket, a build-up of condensation, or a problem with your T&P valve.
If you discover that it’s not one of these problems and it’s the water heater itself that’s leaking, you may need to replace it.
This can be expensive, so it’s worth checking if the leak isn’t caused by anything else before searching for a new water heater.
How to Fix a Leaking Drain Valve
You can find the drain valve at the bottom of your water heater. It’s used before removing the mechanism or during cleaning to drain water in the tank.
If you have spotted a leak coming out of the opening of the valve or faucet, act fast before it escalates. It can cause a breakdown of the entire water heater, which would then need replacing.
First, address the obvious and make sure the valve is fully closed. Sometimes, after it has been cleaned, the valve isn’t shut properly, which can cause leaks. So, turn it as tightly as you can.
If the leak is still there, you’ll have to replace the valve. Here’s how you replace a drain valve on a water heater:
- Use a garden hose to connect the valve to an outdoor environment for the water to drain.
- Turn off the water inlet for the water heater. You can find this at the top of the mechanism on the cold water line.
- Open the valve and let it drain fully.
- After emptying, remove the valve.
- Use joint compound or Teflon to wrap the threads of the new drain valve.
- Slot it into place, screwing it in as tight as you can by hand.
- Finish tightening with a wrench, twisting it by around half a turn.
“My Water Is Coming Out Rusty/Dirty/Brown” — Here’s What to Do
It can’t be clearer that there’s a problem with your water than when the water comes out a rusty, brownish color. If ignored, it can lead to contaminated water, which is a serious health risk for your family.
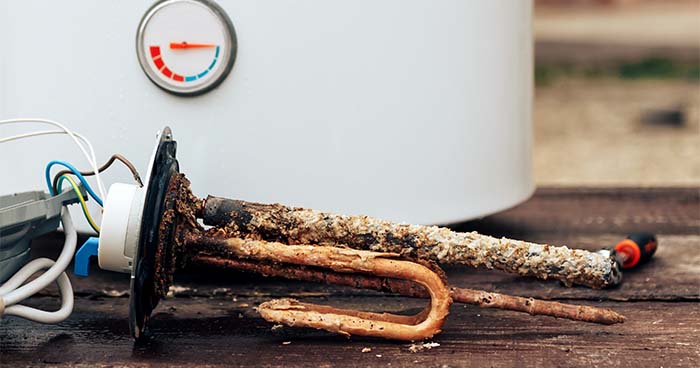
Plus, no one wants to wash in dirty water.
Usually, this color water suggests a corroded anode rod. The solution to dirty colored hot water is to remove and replace the anode rod in your water heater. Here’s how you do this:
- Switch off all power to your water, including the cold water supply line.
- Locate the anode rod. It’s usually at the top of your water heater, just to the side.
- Connect a garden hose and drain 10% of the water outside.
- Allow your tank to cool down.
- Use a boxed-end wrench to take out your anode rod. Don’t use liquids like Liquid Wrench, as this will contaminate your water.
- Ensure the threads are pointing downwards when installing the new anode rod. Wrap them with plumber’s tape or joint compound.
- Screw in the replacement anode rod as tight as you can.
- Finish tightening with a socket wrench. Often, half a turn is enough. Don’t let your water heater twist or turn while doing this.
And there you have it: how to troubleshoot a water heater. A problematic water heater can turn into a serious problem quickly, so if you’d prefer to leave it to the pros, contact us at Service Champions!
Whether you require installation, repair, or maintenance, our technicians will assist you with top-quality service at any time of the day or night. Take comfort in knowing your indoor air quality is the best it can be with MOE heating & cooling services Ontario's solution for heating, air conditioning, and ventilation that’s cooler than the rest.
Contact us to schedule a visit. Our qualified team of technicians, are always ready to help you and guide you for heating and cooling issues. Weather you want to replace an old furnace or install a brand new air conditioner, we are here to help you. Our main office is at Kitchener but we can service most of Ontario's cities
Source link


Add Comment