I remember the first time I was told to replace a belt, it was just a little wee exhaust fan and I was just a little wee apprentice.
The journeyman tech handed the belt to me and said go open up that exhaust fan and replace the belt while I write up the work order and get it signed.
I couldn’t figure out how to get it off. Between you and I, I ran to my truck and grabbed my red tin snips and cut it off. I was able to figure out how to put it back on but I was embarrassed and never admitted my shortcomings to my superior.
Understanding Belt Removal Techniques
I later learned that many belts can be taken off fairly easily. The trick is to push the belt in around the middle and while pushing in, either push up or down simultaneously moving towards the bigger pulley or sheave. I’ve found this method works for many belts on equipment like rooftop units, exhaust fans, make-up air units etc. The sheave vs. pulley argument is for another day haha. For this article, we’ll use the term pulley.
Some belts must be removed by loosening the motor mount and adjusting it towards the fan housing to loosen them.
Safety First: Preventing Injuries
Turn off power before starting any work, ensure the HVAC system is completely powered down. Turn off the main power switch and follow proper lockout tagout procedures to prevent accidental activation.Additionally, wear appropriate safety gear, such as gloves and safety goggles.
Trust me when I say this, wait until the belt is at a complete stop before attempting to pull it off. Even slight movement of the belt can catch your hand or finger and force it through the pulley.
Step-by-Step Belt Replacement Process
1. Locate the Belt
Open the access panel of the HVAC unit to locate the belt. HVAC belts are typically found on blower motors or compressors, connecting the motor pulley to the blower pulley.
Most panels are often labeled to show a fan or moving parts are behind it. Chances are, the belt is there.
2. Inspect the Existing Belt
Before removal, inspect the belt for signs of wear, cracks, fraying, or glazing (shiny surfaces). This will confirm whether a replacement is necessary.
Sometimes it’s easier to remove the belt to inspect it, especially on cogged belts where you need to visually inspect in between the cogs for cracks.
3. Remove the Old Belt
Loosen the belt by adjusting the motor mounts or tensioning mechanism. Slide the belt off the pulleys gently. Take note of how the belt is routed, as this will help in installing the new one. If possible, refer to the manufacturer’s manual for the correct belt routing.
4. Choose the Correct Replacement Belt
Make sure the replacement belt matches the old one in size, length, and type (e.g., V-belt, flat belt). Using the wrong belt can lead to improper performance and additional wear.
Essentially if your belt is a BX50, then replace it with a BX50. But be careful, the wrong belt may have been on there to begin with.
5. Install the New Belt
Place the new belt over the motor pulley and then onto the blower pulley. Ensure it is properly seated in the grooves of the pulleys.
Be careful as you slide the belt into the blower pulley not to catch your hand and fingers.
How to Align the Belts
Proper alignment of the belt is crucial to prevent premature wear and achieve smooth operation. Follow these steps:
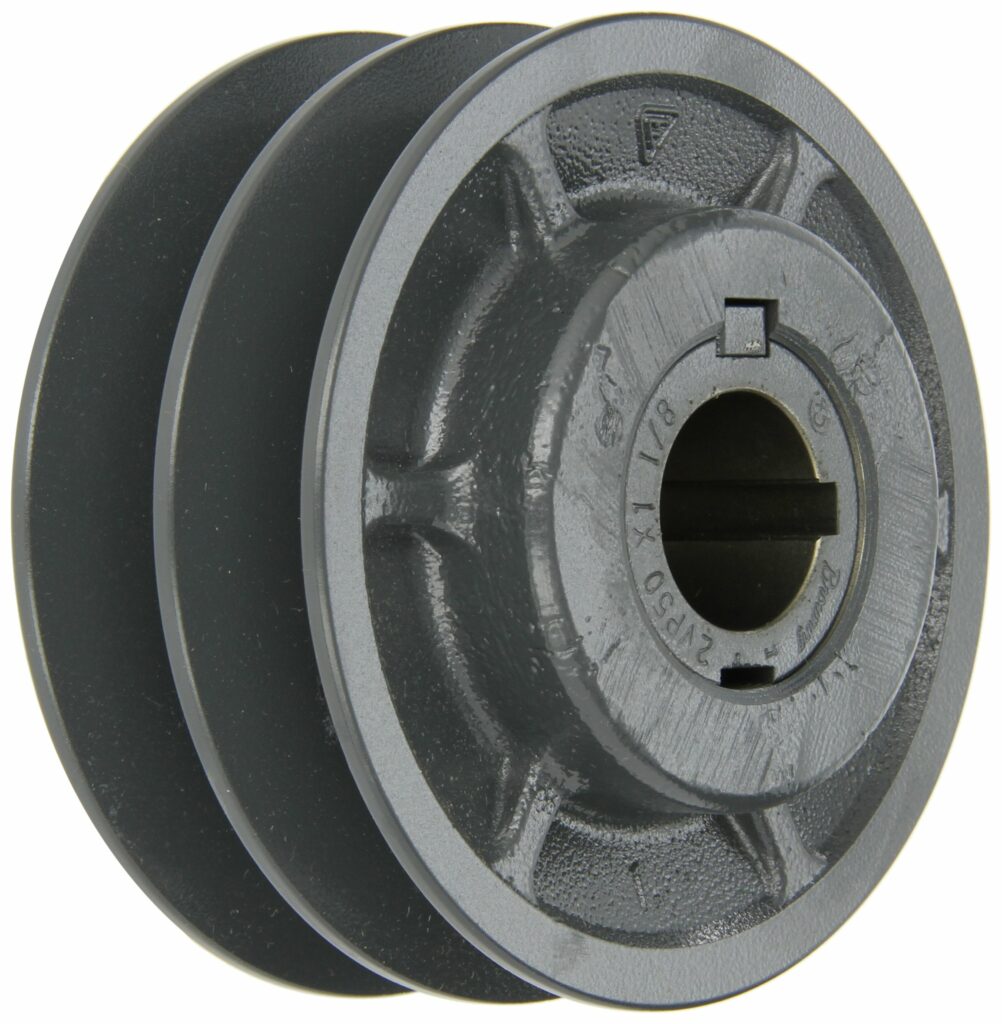
- Check Pulley Alignment: Use a straight edge or laser alignment tool to verify that the motor and blower pulleys are aligned. The edges of the pulleys should be parallel and in line with each other.
- Consider Adjustable Pulleys: If you’re working with an adjustable drive (motor) pulley, sometimes you’ll find the outer edges won’t align with the blower pulley if the adjustment is turned out too far. In this case, you may need to align down the center rather than on the outside.
- Adjust Pulley Position: If the pulleys are not aligned, adjust the position of one or both pulleys. Most HVAC systems have set screws or bolts that allow you to move the pulley along the shaft.
- Verify Alignment: Once adjusted, re-check the alignment with your straight edge or laser tool. Make sure the belt lies flat and straight between the pulleys without any twists.
How to Tension the Belts
Proper tensioning is essential for efficient performance and to avoid unnecessary strain on the system. Here’s how to tension the belt:
Determining and Applying Correct Tension
- Refer to the HVAC unit’s manual for specific tension requirements. If a manual is not available, as a general rule, the belt should deflect about 1/2 inch when pressed with moderate force at its midpoint.
- Most belt manufacturers will have tensioning charts; these charts can be referenced to find the correct tension. Ensure to use a tensioning tool to tension correctly. This is just as important as having the proper diagnostic tools for accurate system evaluation.
Here’s a great product application guide on belt tension which you can download:
Check this video of how to tension a belt.
Finalizing the Belt Installation
- Adjust Motor Position: To increase or decrease tension, adjust the motor mounts. Loosen the motor mounting bolts slightly, then slide the motor away from or closer to the blower pulley to achieve the desired tension.
- Test the Deflection: Press the belt at its midpoint to test the deflection. Adjust as necessary until the correct tension is achieved.
- Secure the Motor: Once the belt tension is correct, tighten the motor mounting bolts securely to hold it in place.
- Run the System: Reconnect the power and run the HVAC system for a few minutes. Observe the belt to ensure it is running smoothly, without slipping or excessive vibration.
At this point, it would be a great idea to check the motor amp draw to ensure it is within spec, just as you would during motor troubleshooting procedures.
Maintenance Tips for Extended Belt Life
- Routine Checks: Regularly inspect the belt for signs of wear and tension. This helps in early detection of potential issues.
- Clean Pulleys: Dirt and debris on pulleys can reduce the belt’s lifespan. Clean the pulleys periodically to ensure smooth operation.
- Lubrication: While belts themselves don’t require lubrication, keeping the system’s other moving parts well-lubricated can reduce strain on the belt.
- Seasonal Inspections: Make belt inspections part of your heating system safety checks, especially before winter when systems run continuously.
Conclusion
By following these steps, you can effectively replace, align, and tension the belt in your HVAC system, without the use of red snips 😉. Proper maintenance not only enhances the system’s performance but also minimizes the risk of breakdowns, saving you time and money in the long run.
Remember, without the belt there’s no airflow. No airflow means no cooling or heating, or a stinky bathroom. Belts are essential to the performance of an HVAC system.
Whether you require installation, repair, or maintenance, our technicians will assist you with top-quality service at any time of the day or night. Take comfort in knowing your indoor air quality is the best it can be with MOE heating & cooling services Ontario's solution for heating, air conditioning, and ventilation that’s cooler than the rest.
Contact us to schedule a visit. Our qualified team of technicians, are always ready to help you and guide you for heating and cooling issues. Weather you want to replace an old furnace or install a brand new air conditioner, we are here to help you. Our main office is at Kitchener but we can service most of Ontario's cities
Source link